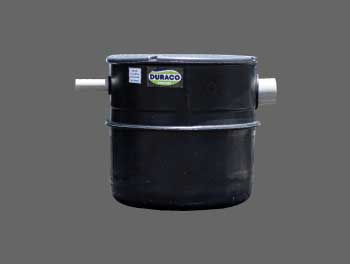
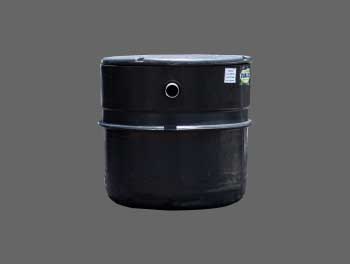
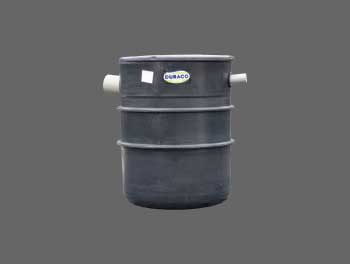
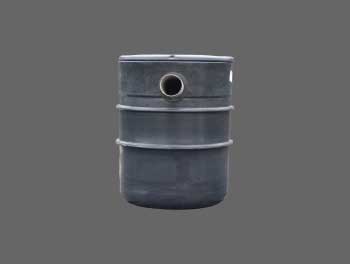
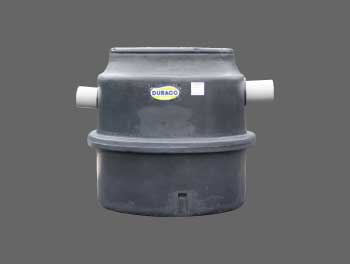
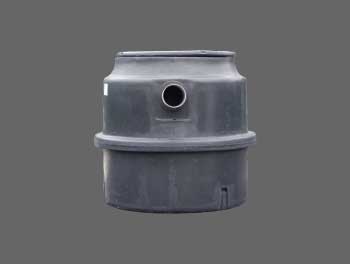
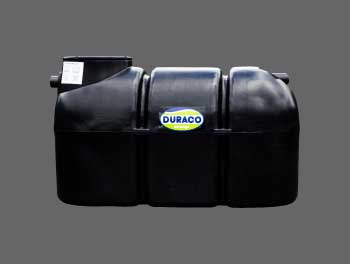
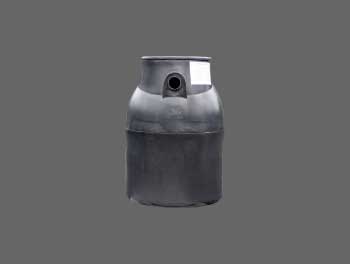
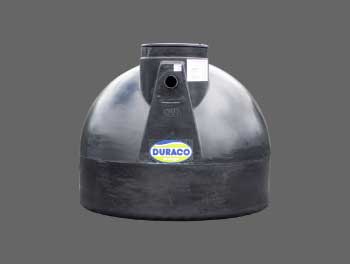
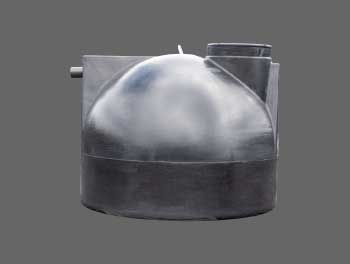
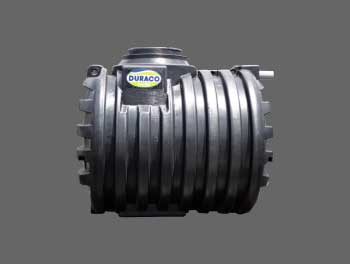
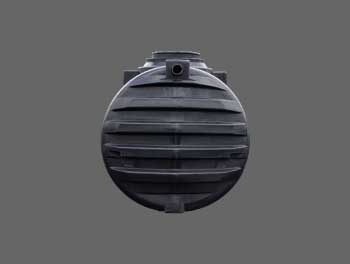
Grease Trap by Duraco
Height: 600 mm
Domestic Use – 1 Kitchen Sink
Height: 800 mm
Domestic Use – 2 Kitchen Sink
Height: 800 mm
Domestic Use – 3 Kitchen Sinks
Width: 925 mm
Height: 1200 mm
Commercial Use
Height: 1500 mm
Commercial Use
Width: 1800 mm
Height: 1800 mm
Commercial Use
Common wastewater from the kitchen sink contains small amounts of Fats, Oil, Grease and Solids (FOGS) which enter grease trap. The solid food particles sink to the bottom while the lighter grease and oil floats to the top and form a floating scum layer. The latter is very slowly digested and broken down by the microorganisms during the aerobic digestion process.
The relatively grease-free water is then fed into an absorption pit. The food solids at the bottom and floating oil and grease must be periodically removed. A traditional grease trap is not a food disposal unit. Unfinished food, gravy and sauces must be scraped into the garbage or food recycling bin.
INSTALLATION PROCESS
Respect the following steps when installing a Duraco grease trap:
Step 1: Location: –
Determine a suitable area to install the grease trap. The unit must be place in an outside area near the kitchen sink and accessible enough for regular maintenance.
Step 2: Connection: –
The Grease trap has only two connectors. The inlet should be connected to the sink pipe and the outlet to the absorption pit.
Step 3: Excavation: –
Dig to a depth that will allow the grease trap cover to come flush with the ground.
For domestic models (140, 200 and 350 L) allow 160mm around the tank. For industrial models (1,800, 3,000 and 4,700 L) allow 230 mm on both sides and both ends of the tank.
Step 4: Bedding: –
Allow for a minimum of 150 mm of compacted bedding material rock sand. Bed the grease trap and make sure it is placed levelled.
The grease trap is supplied with PVC sleeves at the inlet and outlet. The inlet and outlet pipes should be glued to the sleeves using standard PVC glue.
Step 5: Backfilling: –
Ensure the tank lid is properly screwed on the grease trap. Fill the tank with water through the inlet as you backfill, keeping the water level even with the backfill level. This will prevent possible distortion of the tank and its manhole. Do not remove the lid until the end of the backfill process.
Backfill in layers of 200 mm at a time and properly compact each layer. Ensure to compact each end first. Compact the backfill under the inlet and outlet before fixing the pipes.
For the industrial models, the maximum backfill over the top is 300 mm.
NOTE: In case the grease trap needs to be installed with more than 300mm of soil above its top, it must be protected by a heavy-duty concrete slab. THE SLAB MUST REST ON FIRM SOIL AROUND THE TANK
Step 6: Polyethylene (P.E) Extension: – (for industrial models ONLY)
In case the manhole screwed lid does not reach the ground level, a polyethylene extension will be required. Install the extension to the manhole outlet before starting the backfill process. Make use of Duraco extension EXCLUSIVELY. The screwed lid supplied with grease trap will fit the P.E extension.
Step 7: Drain Field Material: –
The home sewer drain needs to slope at least ¼ inch per foot downhill to the inlet of the grease trap and the outlet pipe must cater for a downhill slope of 1/8 inch per foot to the absorption pit. The absorption pit should be at a distance of not more than 3 m from the grease trap and its volume must be at least similar to that of the grease trap.
CAUTION
Failure to comply with the points below voids the warranty.
- Do not install any tank in water saturated clay or in high water table. The tank may collapse and its content will escape.
- Tanks are not fire-resistant. Do not store them near an open flame or heat in excess of 180°F,
- Do not install any tank under the path of vehicles or heavy equipment unless protected by a heavy-duty concrete slab, without resting on the grease trap.
- When the grease trap is pumped for normal maintenance; it should be refilled immediately.
- Our grease trap is designed for underground use only.
- Protect the tank from sharp objects which could cause leakage.
- Avoid abusive use of detergent.
How do I dispose of the grease from the trap?
For Grease trap 1800L and above, it is recommended to contact a Wastewater Company to pump and dispose the grease accordingly. For Domestic Grease Trap, it can be discarded by scraping the Fats, Oil and Grease and disposing it in a sealed biodegradable plastic bag as solid wastes.
Where is the grease trap water disposed of?
Wastewater should be disposed to the absorption pit.
What happens if you do not install a grease trap?
If you do not install a grease trap, the grease will harden in your pipes causing major blockage problems. It is much easier and cost – efficient to install a trap than to avoid it.
How often should I clean my grease trap?
Domestic Grease Trap should be cleaned on a weekly basis. If grease traps are more than 50% full when cleaned weekly, then clean them more frequently.
Does a grease trap prevent blockage?
Blockage will occur if the trap is not cleaned often.
Do I still need a grease trap if we do not generate any grease?
Yes. A grease trap not only collects grease, but also removes fats and oils, such as:
- fats from butter, margarine, shortening and mayonnaise,
- cooking oil,
- salad oil,
- grease from cooking or baking.
Occasionally my grease trap will back up and overflow, why does this occur?
If grease traps are not maintained and cleaned on a regular basis, there will be a build-up of F.O. G’s and sludge which will cause blockage and pipe damage.
