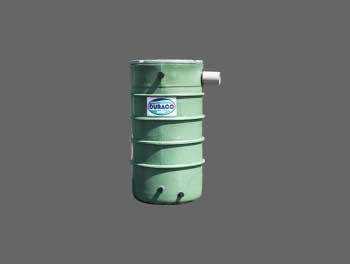
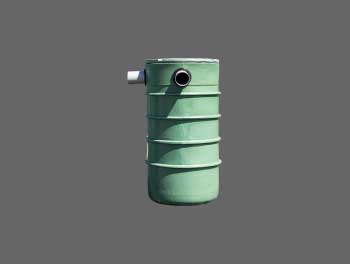
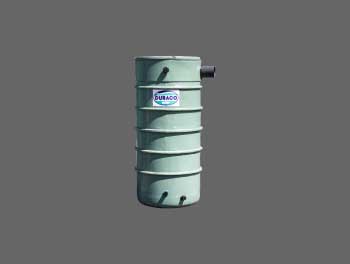
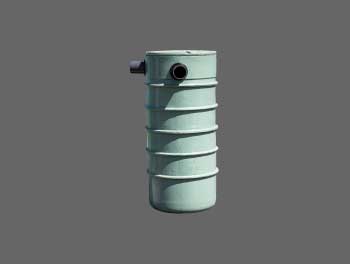
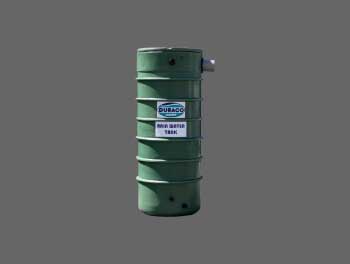
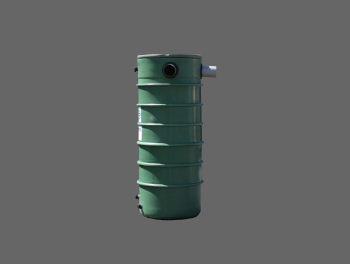
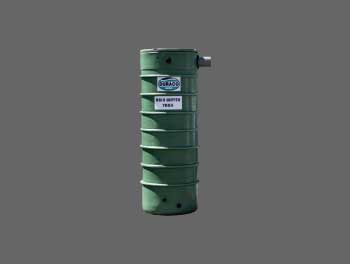
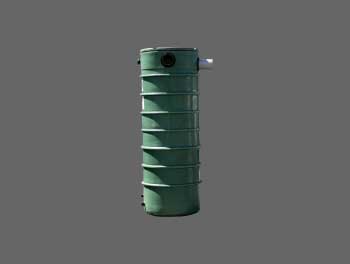
Rain Water Tanks by Duraco
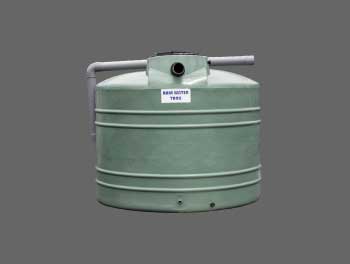
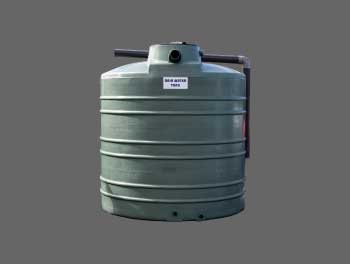
Height: 1200mm
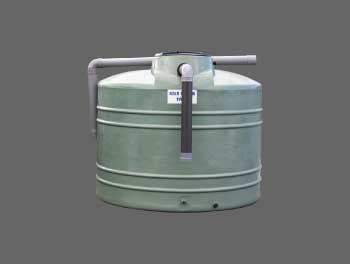
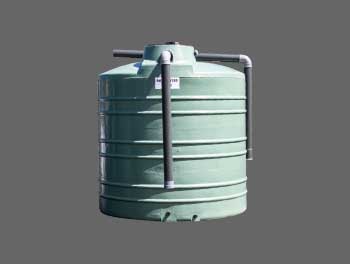
Height: 1400mm
Height 1600 mm
Height: 1800mm
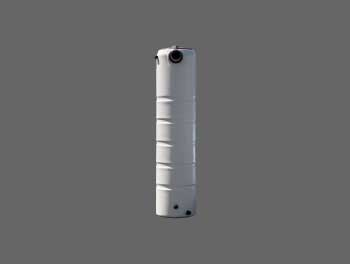
Width: 450mm
Height: 1930mm
Height: 1700mm
Height: 1690mm
Height: 2265mm
Height: 2830mm
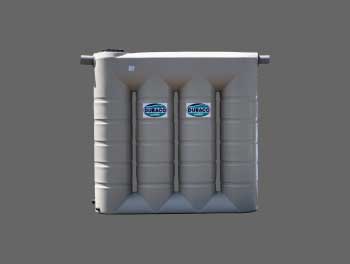
Width: 1725mm
Height: 2000mm
Installation Process
Step 1 – Establish Rainwater Harvesting Capacity
- Determine roof area.
- Determine average rainfall per week from Mauritius Bureau of Meteorology
- Calculate tank capacity by multiplying roof area and average rainfall per week
For example, a roof area of 100 m2 with an average rainfall of 25 mm yields 2500 lts (100 m2 x 25 mm = 2,500L). Required tank capacity = 2,500L
Step 2 – Based on the capacity of storage, you can select from the different models available.
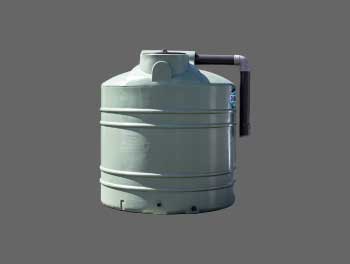
- Column Type Rainwater Tank – 350 Litres to 500 Litres
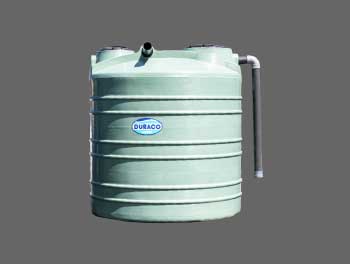
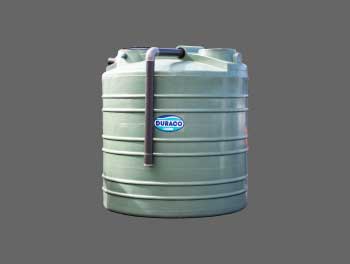
- Integrated Filter Type Rainwater Tank: 2500 L to 9000 L (Patented model)
- Slim Rainwater Tank 1200L
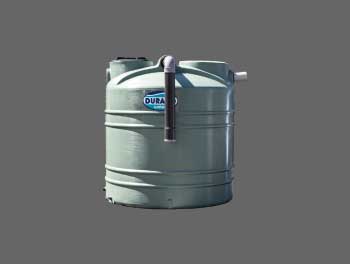
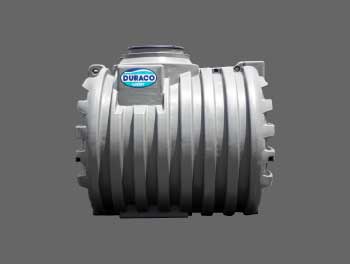
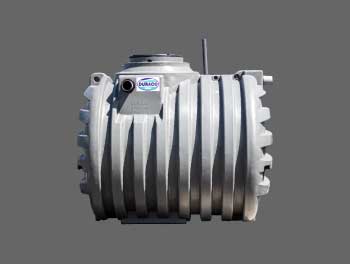
- Underground Rainwater Tank – 4700 Litres
Step 3 – Selection of accessories for Rainwater Harvesting
- Water pump
- Level Indicator
Step 4 – Preparation of Site to accommodate Rainwater Tank.
- Ensure the tank is placed on a solid and levelled concrete base.
- The guttering on your roof is also a key component in your rain harvesting system and will need to be cleared of any leaves or debris. Sometimes guttering may also need to be adjusted to direct the water to the corner of your house where the tank is installed.
- Tank overflows must be designed to ensure storm water does not pond under the concrete base, the building floors or flood around foundations and footings of buildings.
Step 5 – Distribution of the rainwater
- Diverts first 60 litres of rainfall to ensure cleaner supply.
- Select a pump and filtration system to distribute water for use inside or outside the home.
- Connect to your washing machine, toilets or outside gardening tap.
Installation of Water Tanks:
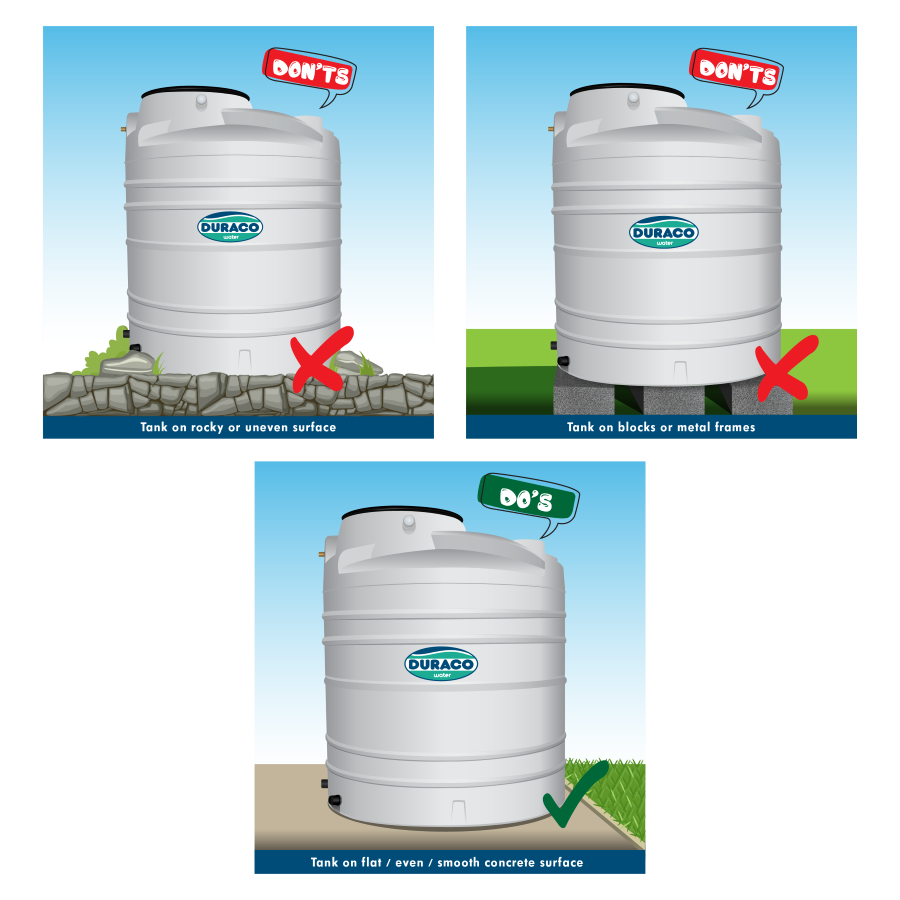
- Water Tanks should NOT be installed on:
(i) Rocky and Uneven Surfaces
(ii) Block and Metal Frames.
- Best installation practice is to place your tank on a flat, smooth and even surface.
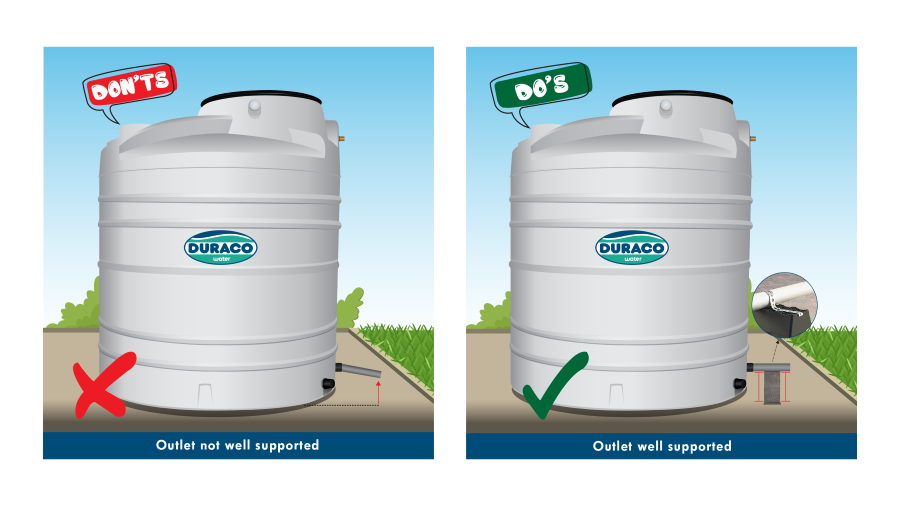
- Outlet should be well supported to avoid the risk of leakage and damage to the water tank at outlet.
NOTE: These Water Tanks are not designed to be installed as underground Rain Water Tanks except the model of underground of capacity 4700L.
The Warranty is valid for Twelve years.
The warranty applicable to your Duraco Rainwater tank (Excluding the Underground Rain Water Tank) is as follows:
First 4 years – Free replacement or free repair whichever may be necessary
5 to 6 years – 85% discount off the current retail price of the water tank or free repair,
whichever may be necessary
6 to 8 years – 70% discount off the current retail price of the water tank or free repair,
whichever may be necessary
8 to 10 years – 55% discount off the current retail price of the water tank or free repair,
whichever may be necessary
10 to 12 years – 40% discount off the current retail price of the water tank or free repair,
whichever may be necessary
Note:
The company’s obligations under this warranty are limited to repair or replacement of the water
tank, at the option of the company
Warranty Exclusions
- Accidental damage; acts of God; failure due to misuse; incorrect installation; attempts to repair the water tank other than by DURACO Ltée accredited service agent
- The warranty only applies to the water tank and does not cover any plumbing, or fittings supplied by the company such as float valve, outlet fittings, foot valve in case of underground tanks and lid.
- Any leakage at outlet/inlet resulting from wrong plumbing installation.
- Subject to any statutory provisions to the contrary, claims for damage to furniture, carpets, foundations or any other consequential loss either directly or indirectly due to leakage from the water tanks.
- The warranty does not apply to tanks which have been used for storage of chemicals.
- Where the water tank is not installed according to the instruction below
Aboveground tanks
- All water tanks must be anchored on a smooth flat surface.
- No external load should be applied to the tanks.
- Inlet and outlet pipes should be adequately supported to avoid strain on the water tanks.
The warranty period for an underground Rainwater Tank is 3 years.
A fixed fee of Rs 1,800 (VAT inclusive) will be applicable to all site interventions, including those under warranty to cover for the transport and labor costs for diagnosis on site.
